
Splitting and Combining Large 3D Prints
Just because a printer’s build volume is smaller than your designed object doesn’t mean you can’t make it. At Ember, we’ve made lots of large parts that were broken up into several pieces and bonded together. There are caveats of course - your part can have weak spots along the bonding regions, the surface finish on the bonding area can look slightly different, and it requires some manual labor.
All the above are factors when deciding whether to split and bond, but doing so can result in a lower cost final product compared to having to source a part from a supplier who has larger, more costly industrial machines. In today’s blog post we’ll show some examples of large parts we’ve bonded and discuss some of the tips & tricks involved.
The first example below is for SLA printed parts. We will also show an example of FDM printed parts.

Design Features
When bonding parts - it helps to design in some alignment pins across the split face. This allows you to align your parts together and prevents undesired bowing that can occur especially across thin walled regions. The female portion will have alignment holes designed into the mating face instead of pins.

Bonding
Once you have your split parts printed with your alignment features, the next step is to bond the parts together. This can be done a variety of ways.
One method is to use general purpose epoxy. Another method is to utilize the same resin the part was printed in as the glue.
However, because the second option requires resin and UV light, this only works for transparent parts and for parts that are not very thick.
Filling the Seam
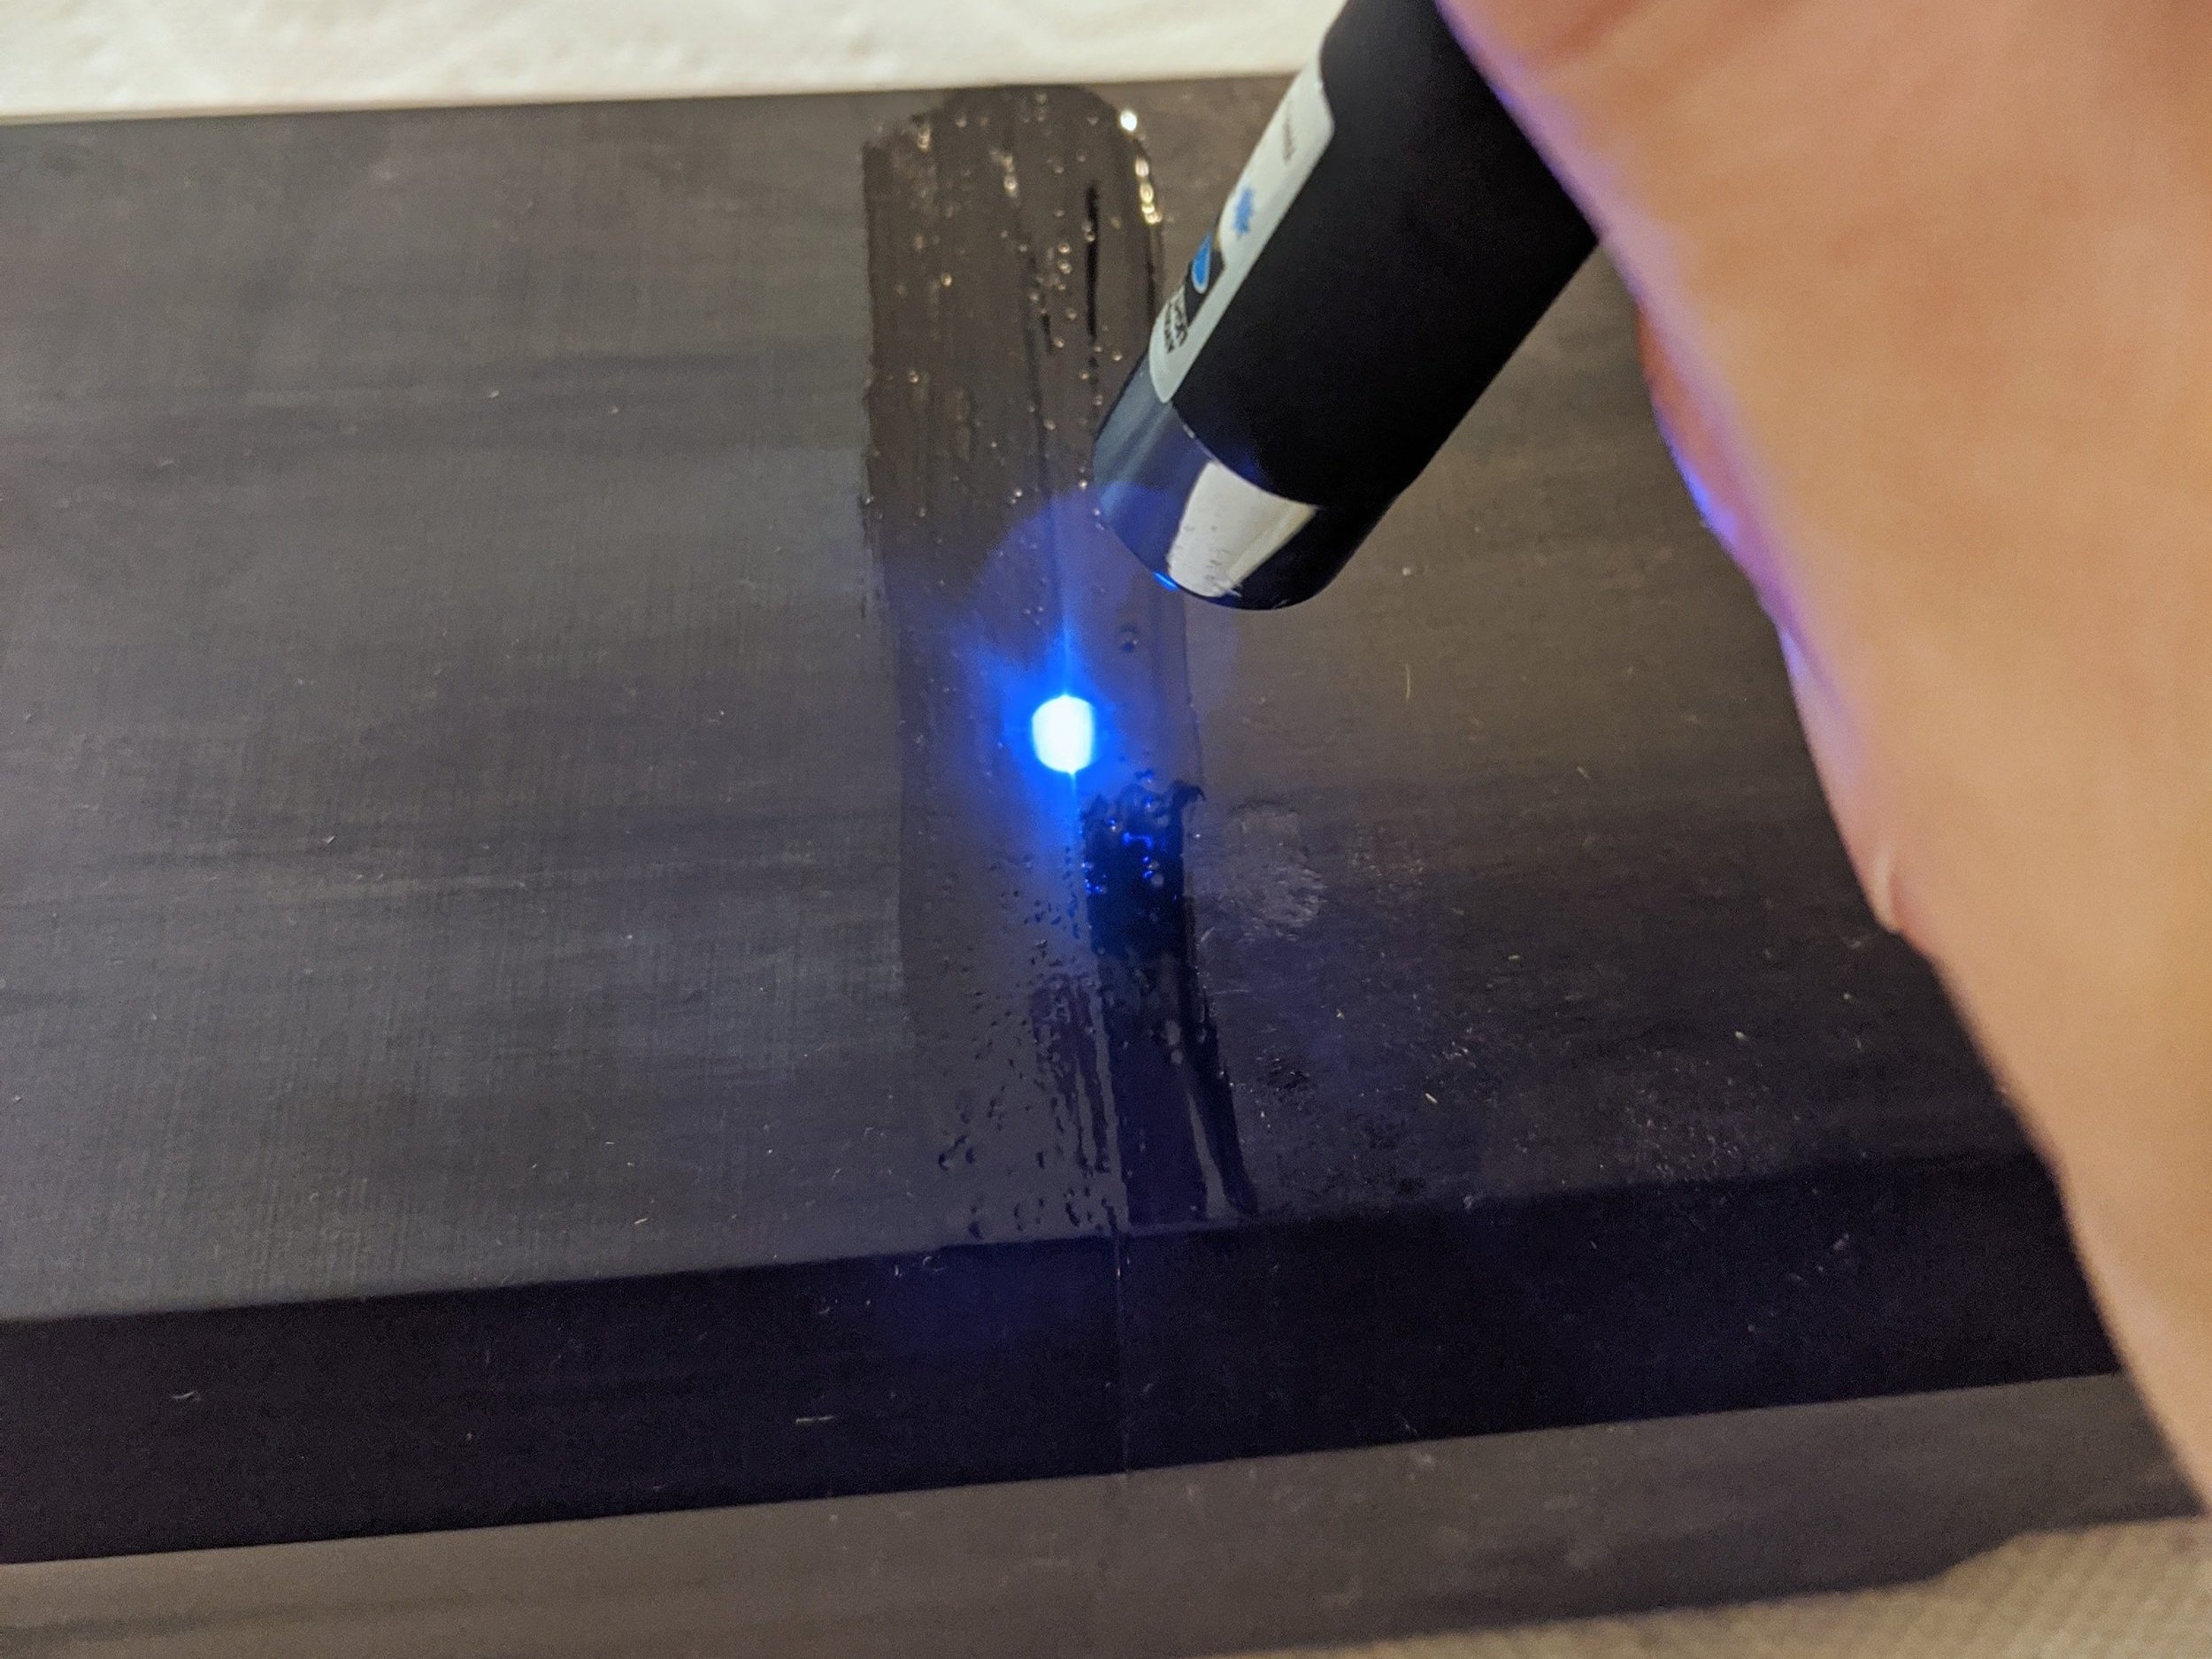
The next step is to fill the seams. We do this by brushing liquid resin over the seam and curing it with a UV laser pen.
It’s ok to brush generously and have excess in this step. In fact, it’s better to have excess because we can simply sand this area away to hide the seamline.

Sanding the Seam
Once the excess resin cures, the uncured excess can be wiped off with IPA and a lint-free cloth (we like to use PEC pads).
The excess cured resin can now be sanded away using progressively finer grit sand paper depending on the surface finish required by the customer.
In this example, you can see that most of the seamline is hidden after sanding. It’s not perfect, but finishing parts perfectly can require a significant amount of labor and polishing, and this was satisfactory for the application.


When combining SLA printed parts, we suggest printing in alignment pins and features as described previously. However, when using FDM prints, one can simply design holes & slots for dowel pins rather than adding pins to the geometry. This is because pressing dowels into SLA printed parts may crack or damage them since SLA materials are typically more brittle than their FDM counterparts. This means combining FDM parts is easier.

Print the parts
This is half of the assembly jig printed out on our bambulab x1c. not shown is the holes on the side for receiving the dowel pins. the other half also has a hole and a slot for alignment to the dowels.

Final part
Once dowels are pressed in and the two pieces are combined, this is what the final part looks like. watch the youtube video below to see the assembly process in action.